Smart Panda Bag
My wife and I recently took a Sainsburys sewable panda bag (bought for £3) from our nearest Sainsburys, and made it into a programmable handbag with flashing LEDs.
Here I’ll describe step-by-step how we did it, and what you’ll need if you want to create something similar.
Sainburys Sewable Panda
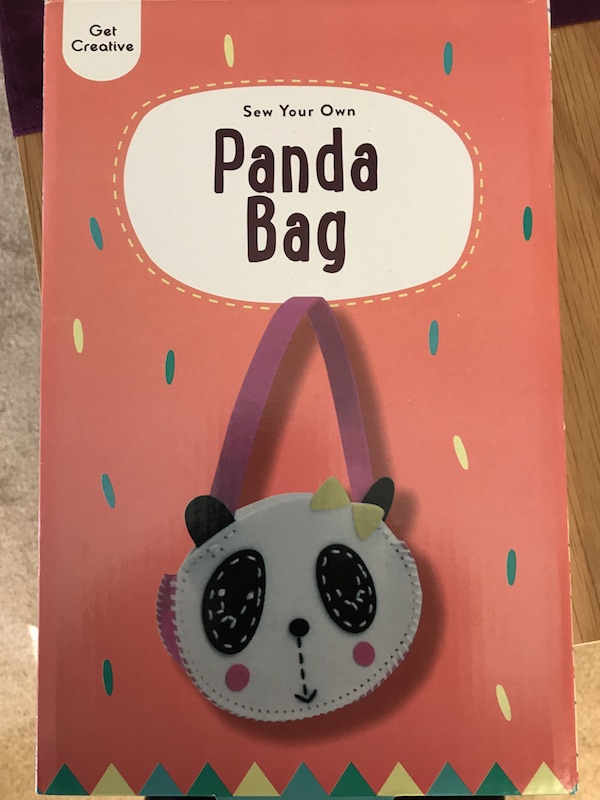
This was in the home crafts section of the shop, the main body of the handbag is two ellipses of thick felt, and the rest is smaller pieces of thick felt, all sewn together with wool, using a safe plastic needle, the holes in the felt are pre-punched, so the needle just needs to be pushed through.
Required components
I’m listing the components I used in this project:
- 1 x Sewable Igloo Picaxe control board
- 2 x Electro-Fashion Red LED
- 2 x Electro-Fashion Blue LED
- 1 x Electro-Fashion switched coin-cell battery holder
You’ll need a Picaxe programming cable if you don’t have one
You’ll need some conductive thread and an embroidery needle to sew the circuit.
Prototyping
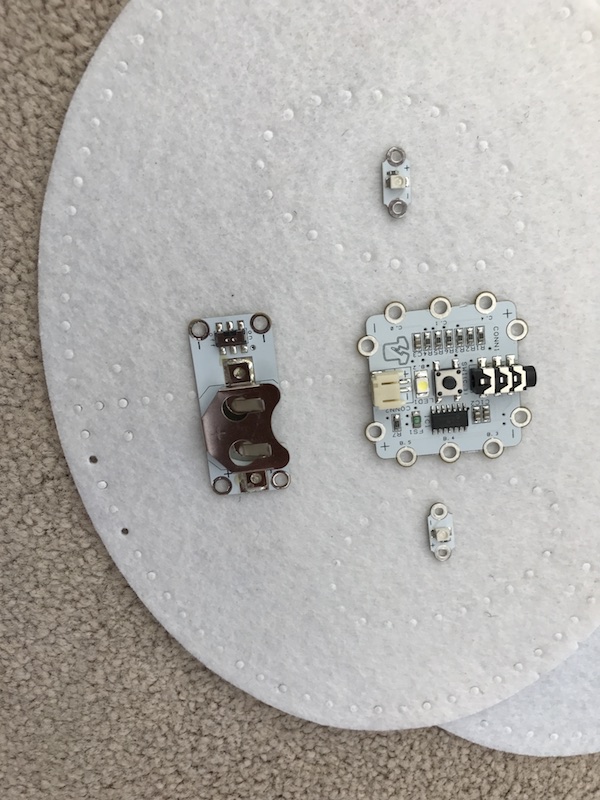
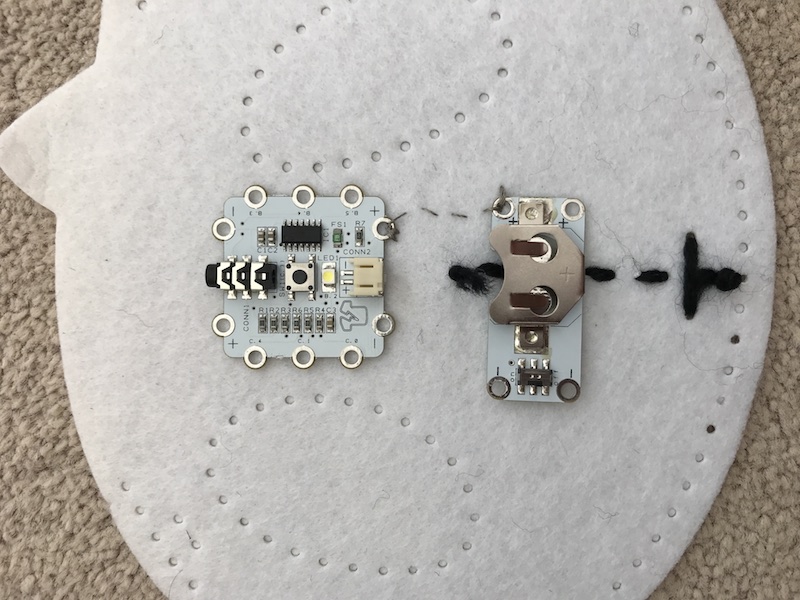
First of all I started by laying out the battery holder and Igloo on the face to get a feel for the size, and then I created a small prototype and tested it.
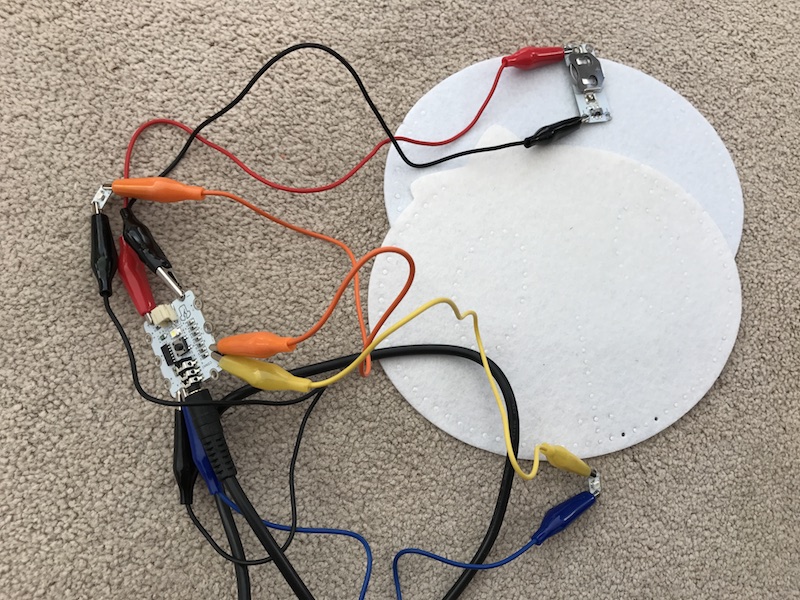
The prototype was just a quick test to see that wiring the components together would work with just a single LED.
Attaching the battery and Igloo
The instructions for the panda are reasonably good, but before you sew the battery holder and Igloo board on, first sew the nose on.
The battery and Igloo are sewn ontop of the nose, so you need to have it in place first.
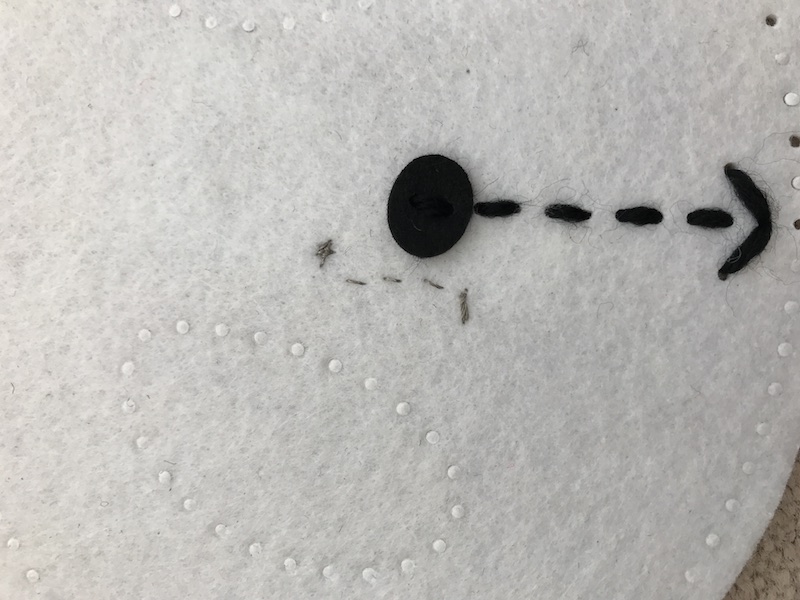
Note that the port for plugging in the AXE27 programming cable is facing out the top of the bag where the hole is, this makes it easy to reprogram.
We knew the conductive thread would be highly visible against the white of the face, but we wanted to be able to illustrate how the sewing was done when the project was completed.
Sketching out the wires
After I had the battery and Igloo in place, I started to sew, and to be honest, I quickly got into a mess of positive and negative threads.
Fortunately, my wife came to the rescue, I traced around the face of the panda, and then traced around an Igloo and battery holder, I should’ve done this first.
She sketched out simple lines that didn’t cross, and involved sewing as few lines as possible.
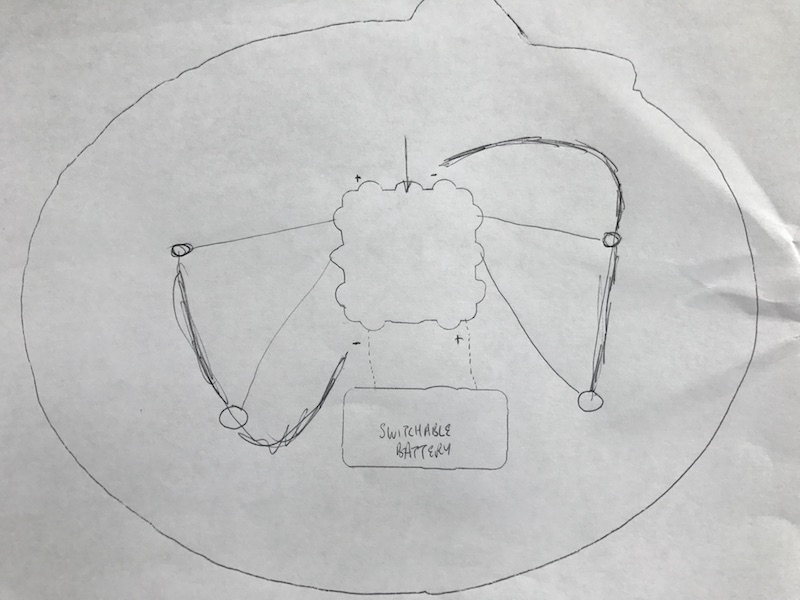
Note that in this graphic, each LED is attached to a “pin” and the ground is shared between two LEDs on each thread.
Basically, follow the sketch lines, taking a new link from four pins on the Igloo to the positive connections on each LED, I used the following four pins “B4”, “B5”, “C4”, “C0”.
The negatives are sewn as single lengths of thread, going through the first LED and then terminating at the second LED on each side.
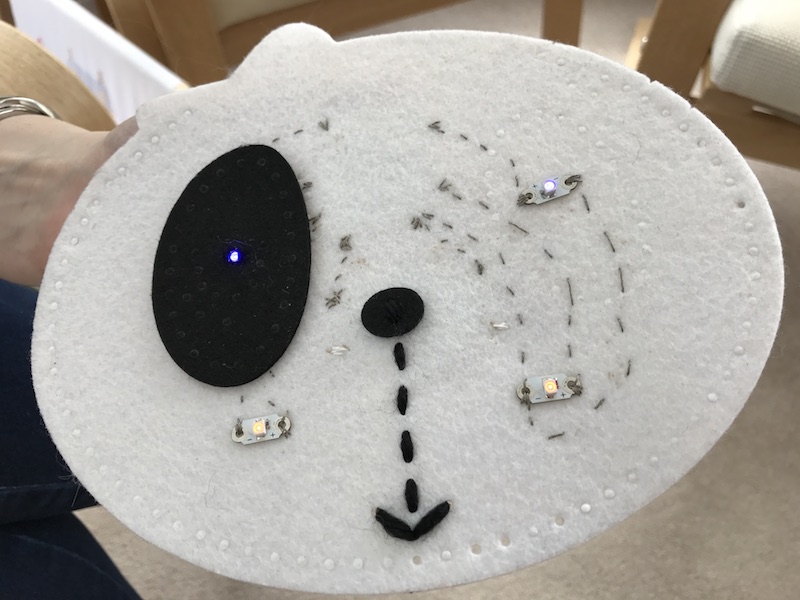
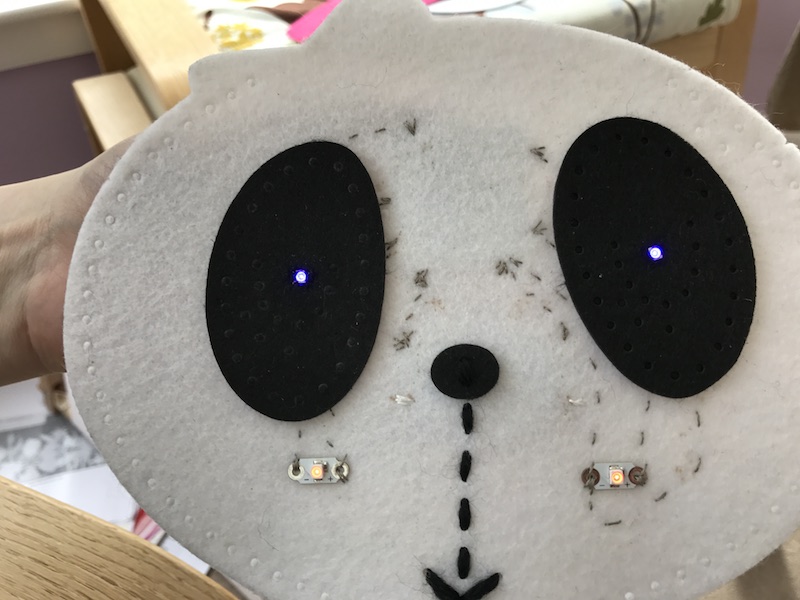
Once each thread was sewn, two to connect the negative on the Igloo with the four LEDS, and four separate threads to connect up the pins to the positive end of each of the LEDs it looked like this.
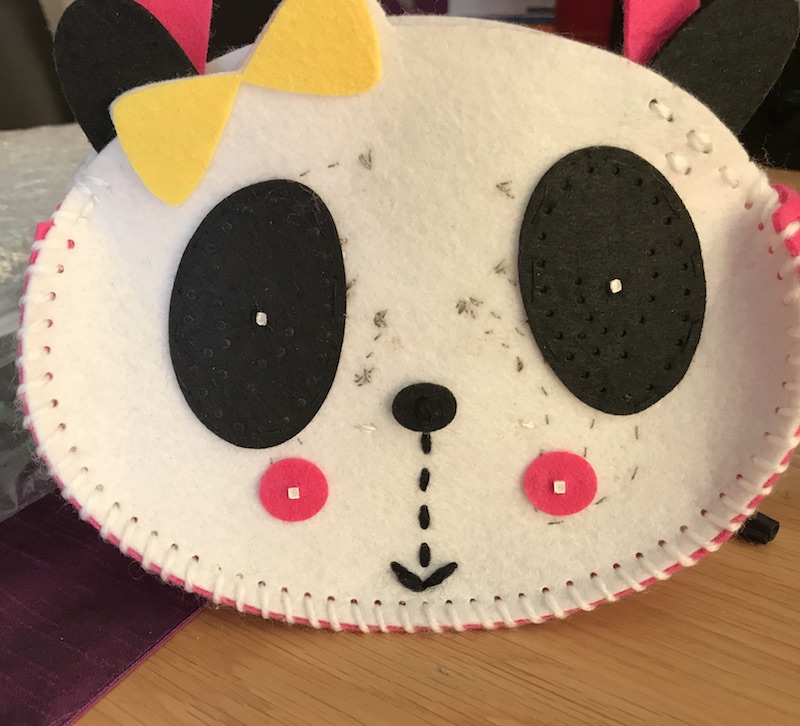
Attaching the eyes
We took the decision not to sew the contrast white stitching around the eye, as the LEDs would provide enough, so the eye was sewn on with ordinary black thread.
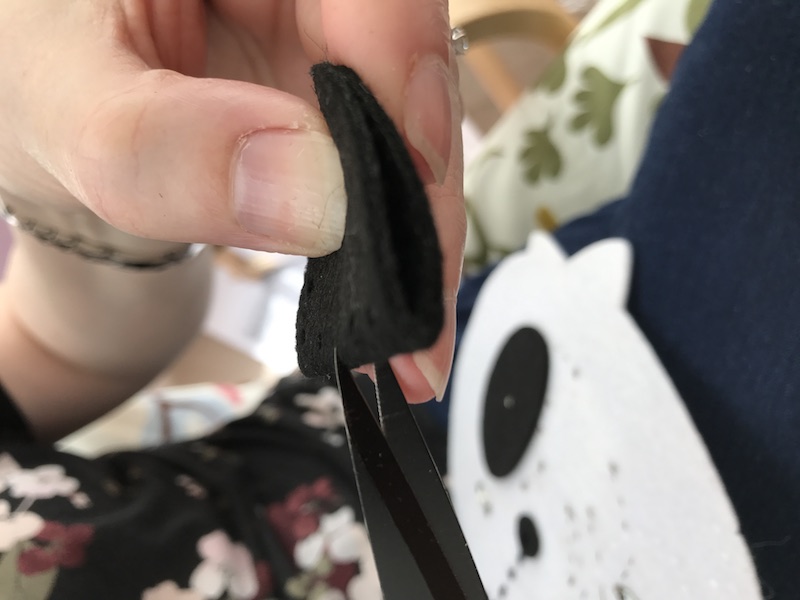
I missed the first eye being attached, but I managed to grab photos of the other eye having a hole cut in it.
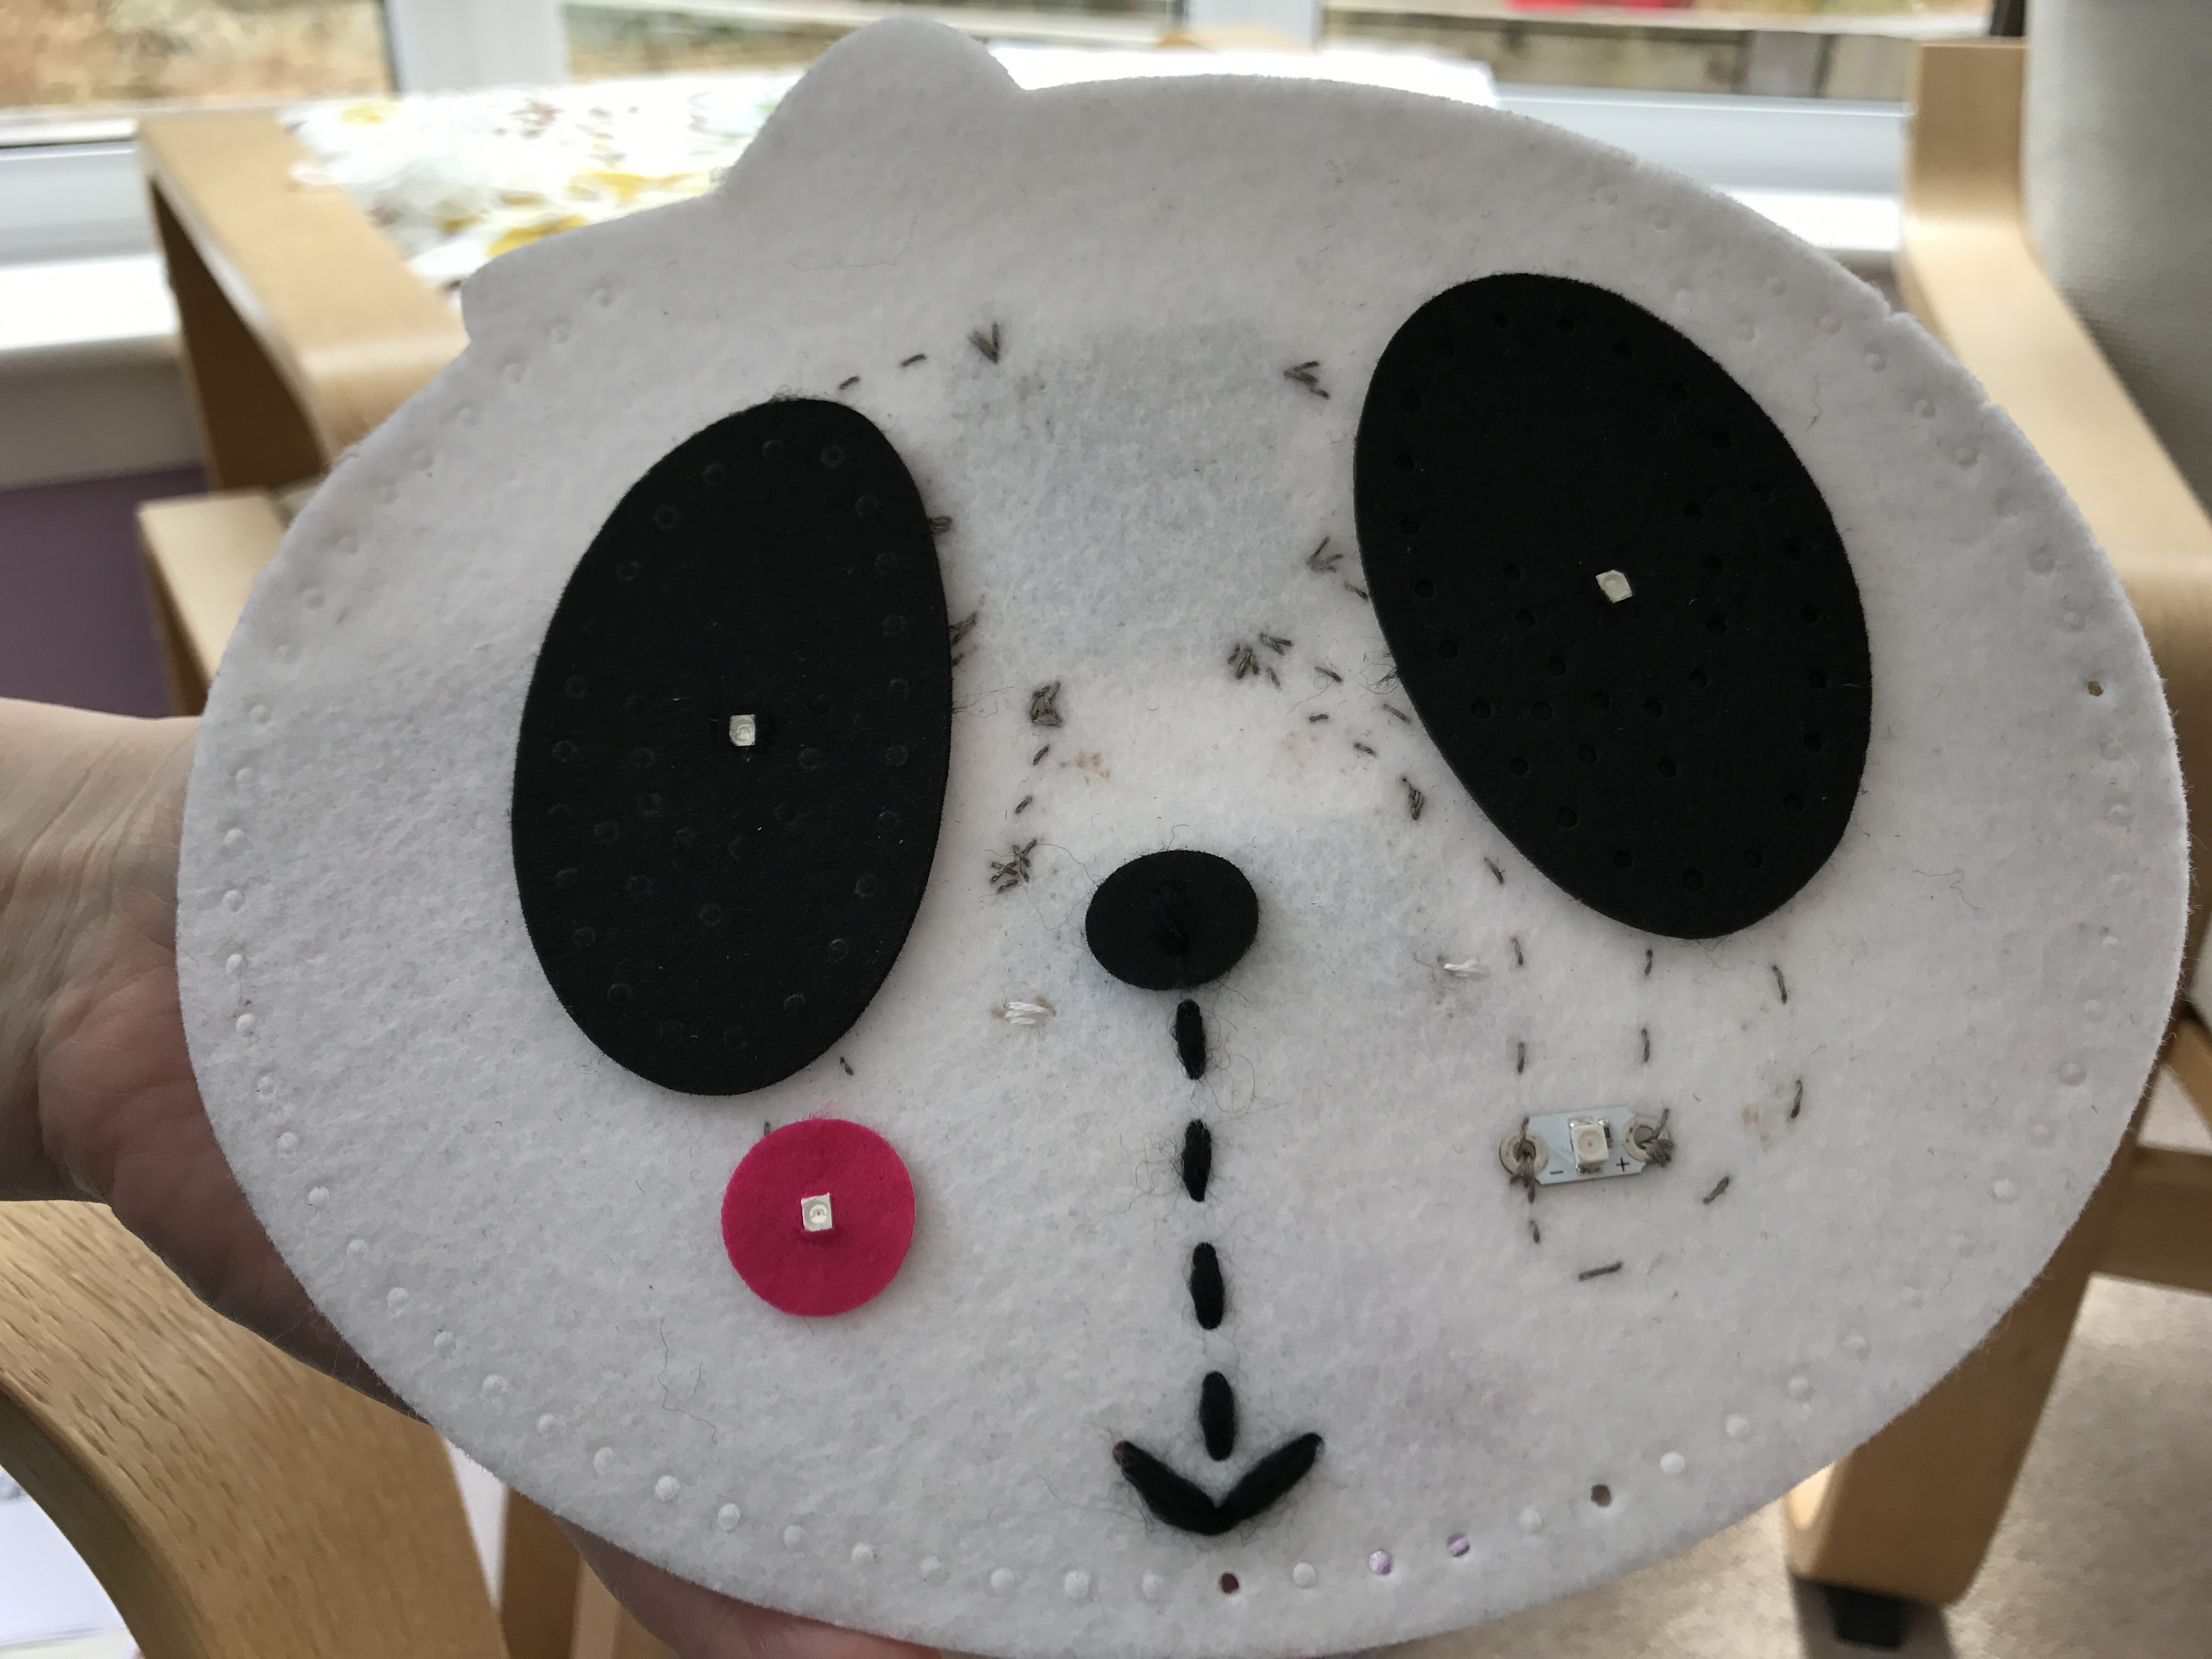
Attaching the cheeks
At this point, the pink circles for the cheeks were cut in the same way and attached.

Finish off the sewing
The rest of the face, the strap, and body are all sewn just as in the provided instructions.
Code in Blockly Pixaxe
You’ll need Blockly Picaxe to program the Igloo.
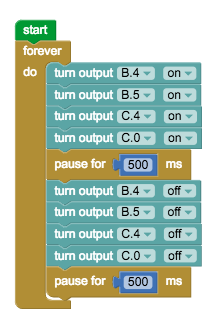
I’ve provided the simple XML file to code flashing LEDs for the Panda.
Extending the project
It’d be easily possible to add a Sewable Buzzer which would make it possible to play simple music from the bag.
Or add a tilt-switch that activated the LEDs and switched them off after the bag wasn’t moved for a period.